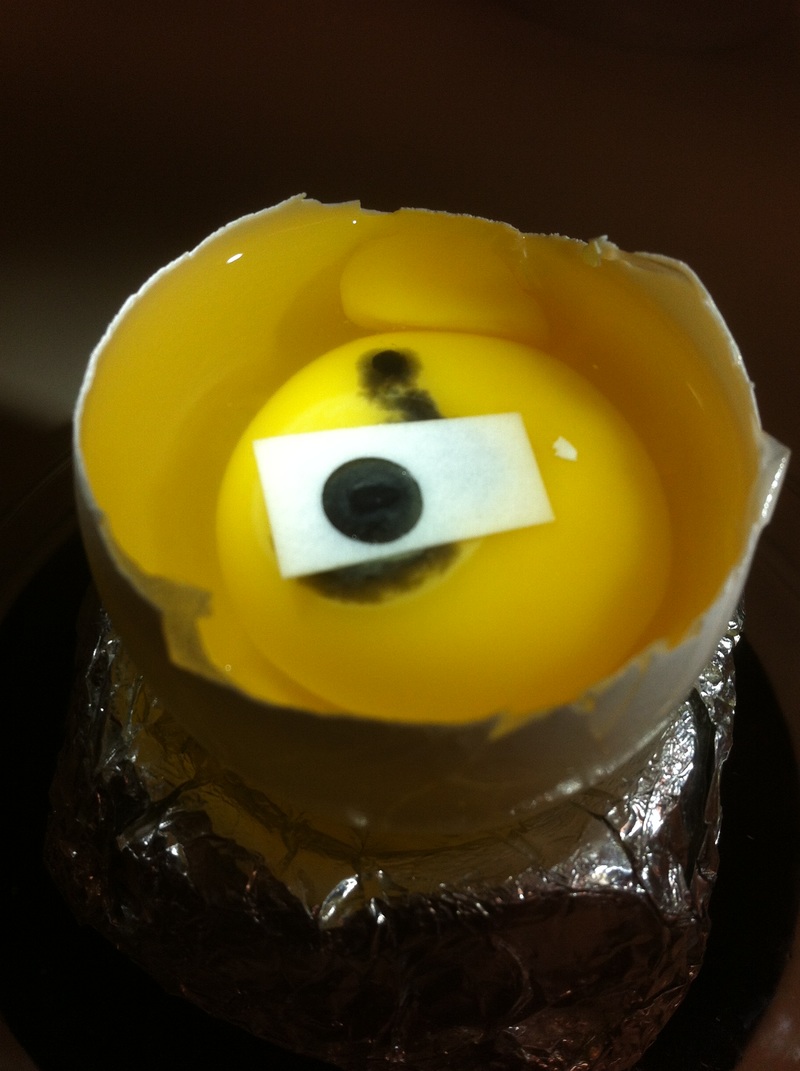
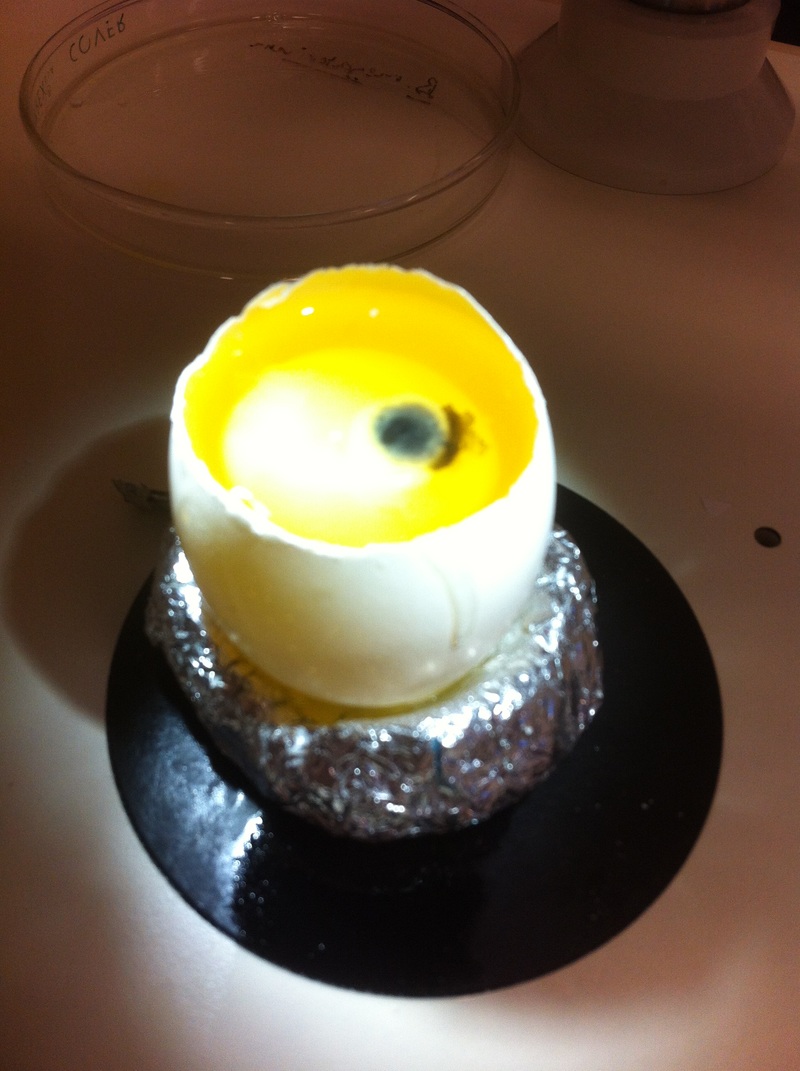
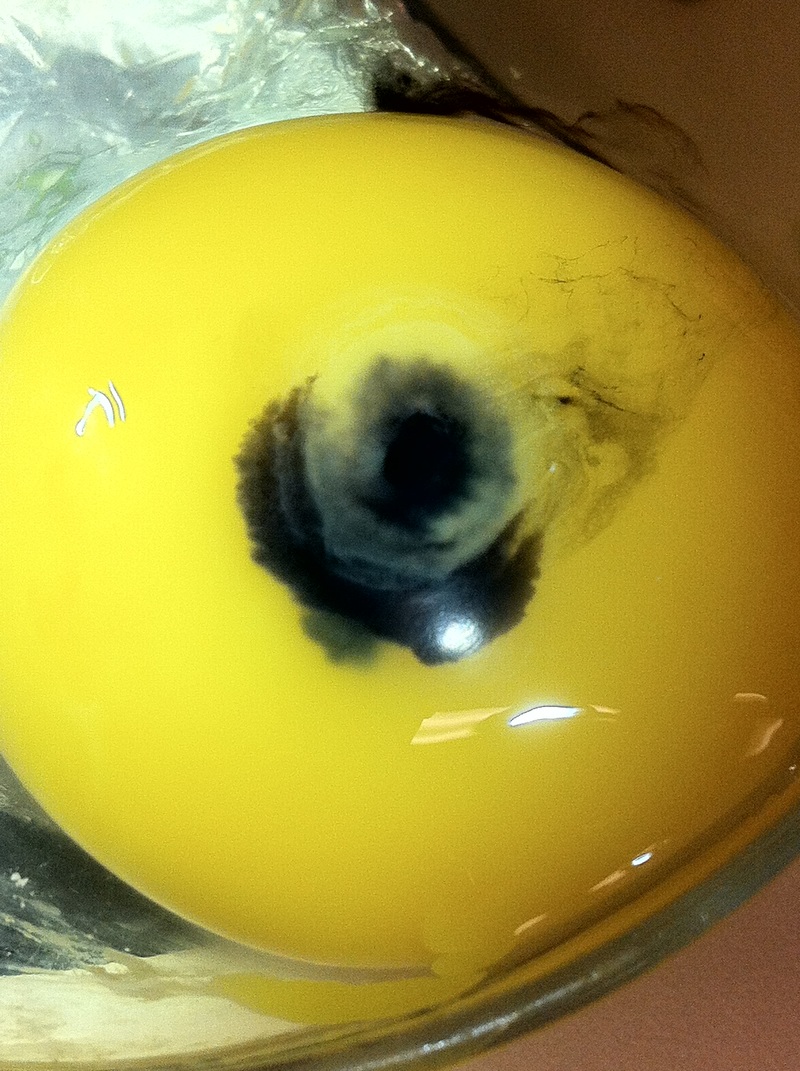
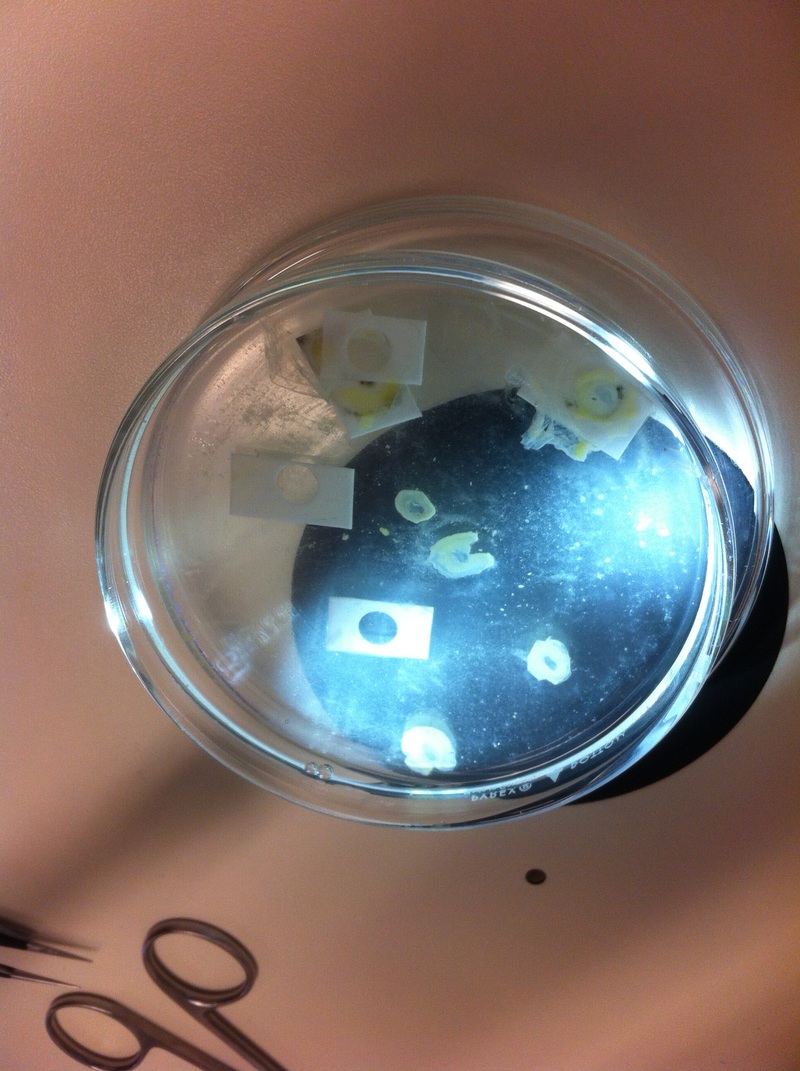
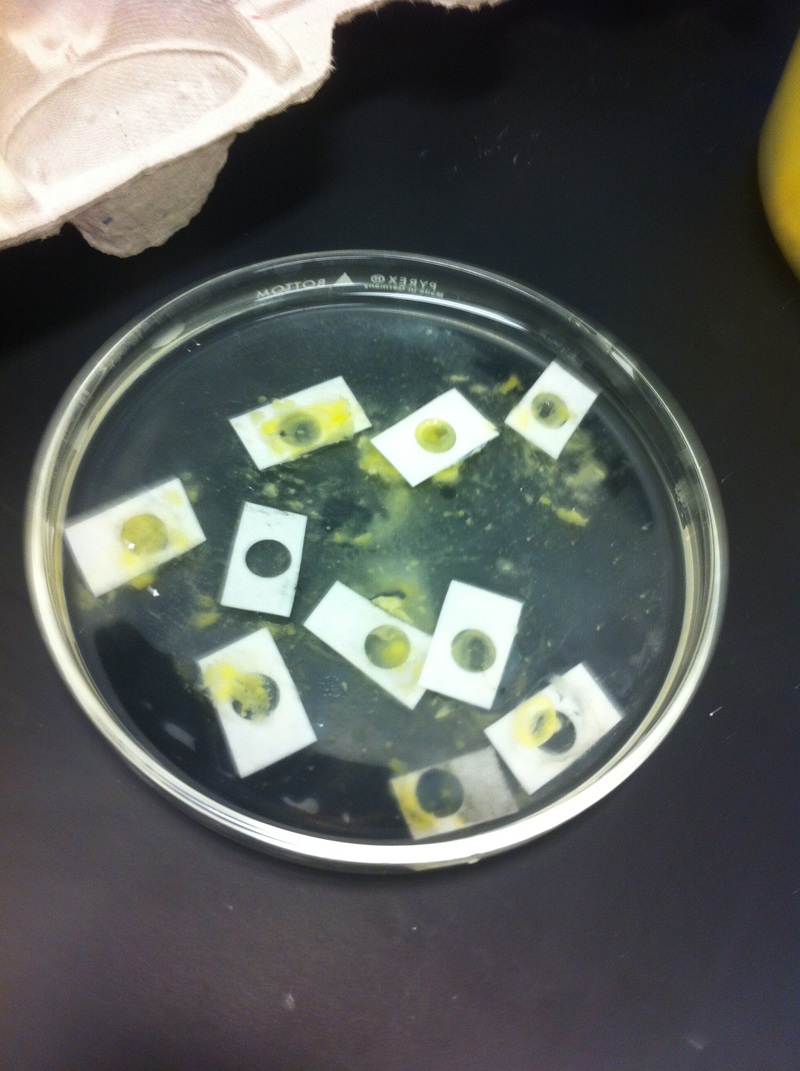
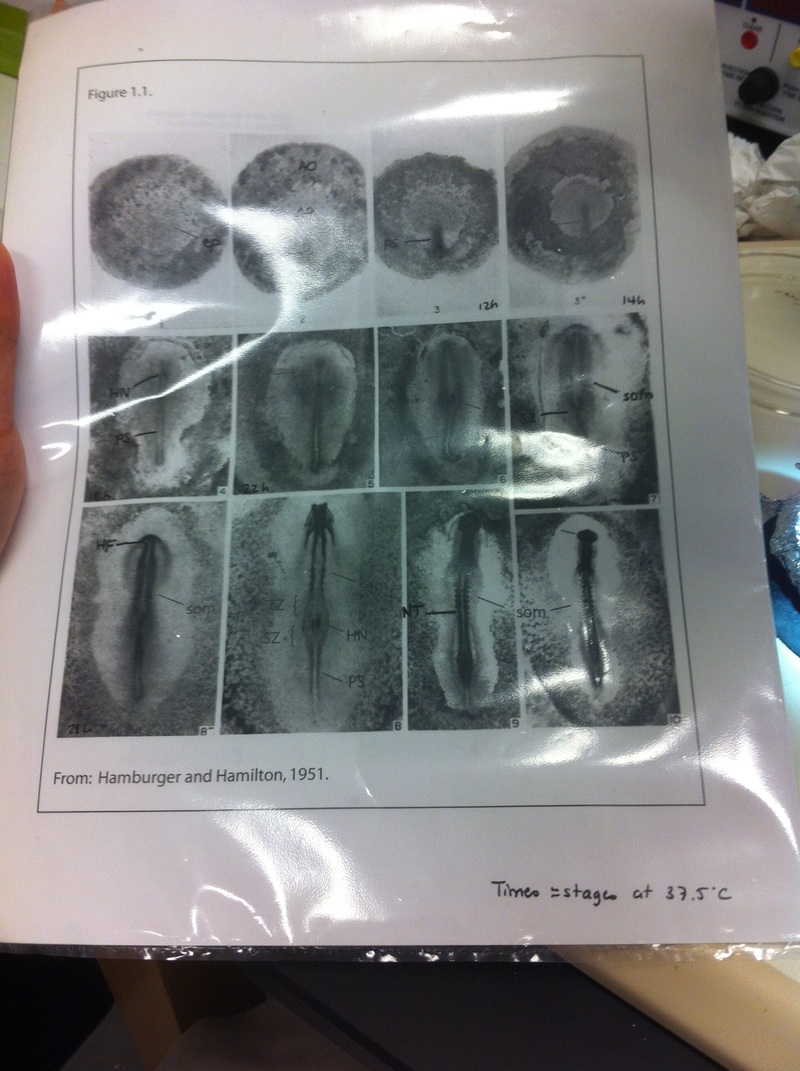
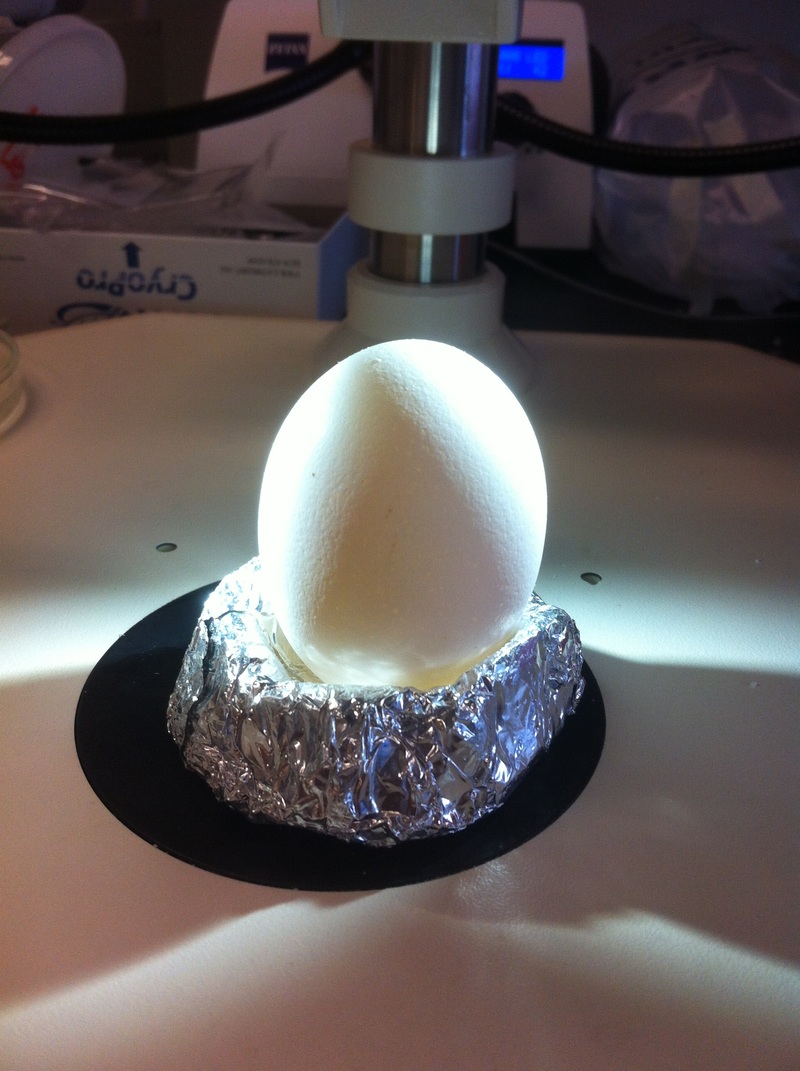
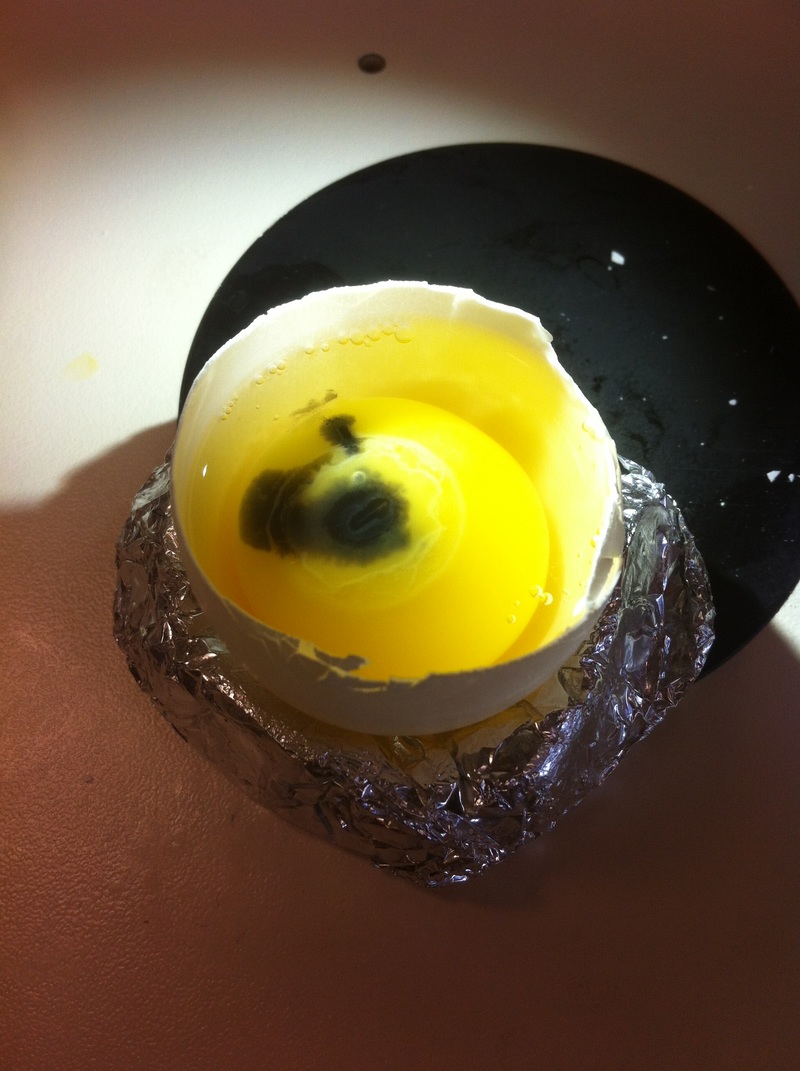
After a few weeks of working with Xenopus laevis embryos, we learned how to extract chick embryos. Mariana and Eric demonstrated this intriguing process multiple times before we began to do it ourselves. The first time I did this process, I failed quite miserably. First, we clean all of the eggs with 70% ethanol. Then, I take an egg from the carton and place it in an egg-holder (made of playdoh and aluminium foil-- quite creative!) on its pointy head, making sure to open the egg from the side which contains the air cell. I use curved scissors to tap on the top of the egg and start cutting around to finally expose the inside of the egg. I then use forceps to remove the inner membrane and begin to detect the egg for a white, cloudy region which surrounds the embryo. Most times, the embryo is usually at the top, but other times, I have to transfer the egg contents to a petri dish to detect if the embryo was on the other side of the egg. After I have identified the cloudy region, I remove 2-3 milliliters of egg white with a syringe, ensuring that I don't accidentally suck up any yolk with it. I have found that removing the egg white prevents the yolk from constantly moving around, and it allows me to cut the egg even further, while reducing the mess. After removing the egg white, I inject ink dye with a curved needle a few centimeters below the embryo in order to properly identify the embryo. I view the embryo under the microscope in order to identify which stage the embryos are at; most of the times, we identified stage 6 or 7 embryos, depending on the presence of somites. After identifying the embryo, I use a kim wipe to gently dab away the stickiness from the egg white in order to promote the later steps. Afterwards, I use forceps to place a single hole-punched paper slide around the embryo. I use a pipette to place a few drops of ringer solution onto the paper slide to make it stick to the embryo more effectively. I use straight scissors to cut around the embryos: first I start at the corners, then at the long edges, and finally the short edges. I have found that the yolk cutting process can be quite stressful, especially since the yolk tends to burst and the contents of the egg quickly collapse, causing the ink dye to spread everywhere and the embryo to potentially get lost. In order to successfully transfer the embryo, this process must be executed very quickly, ensuring that the embryo is not ripped during transfer. After the yolk surrounding the embryo has been properly cut, I use forceps to remove the paper slide containing the embryo in a manner of "opening a book", and then I place the embryo in the petri dish with Ringer solution. Voila, I have just extracted a chick embryo! Although this procedure seemed extremely intimidating at first, I eventually became better at it with practice. In my personal experience, I have found that extracting the embryo directly from the egg is less risky for multiple reasons. When transferring the egg's contents to a petri dish, the yolk tends to collapse, or the embryo seems hard to find. Therefore, I like to extract the embryos directly from the egg because it is more efficient. Overall, I found chick embryo extraction to be extremely fascinating and rewarding.
-Prachi Mishra
-Prachi Mishra

 RSS Feed
