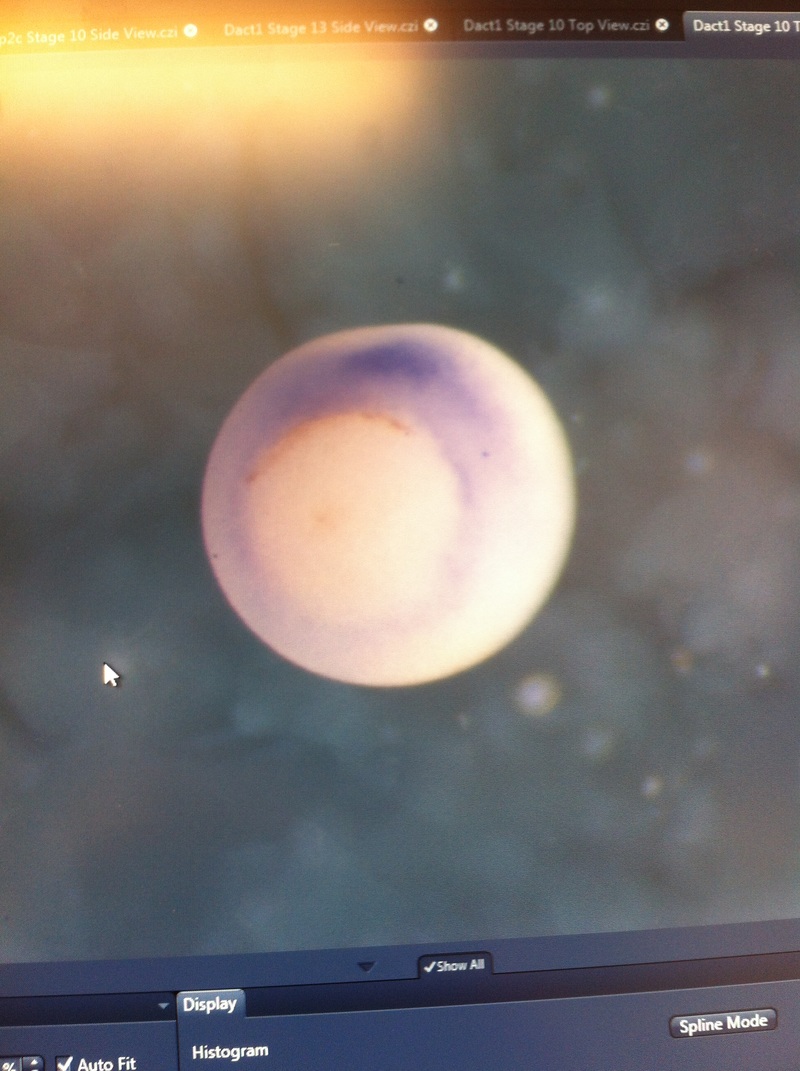
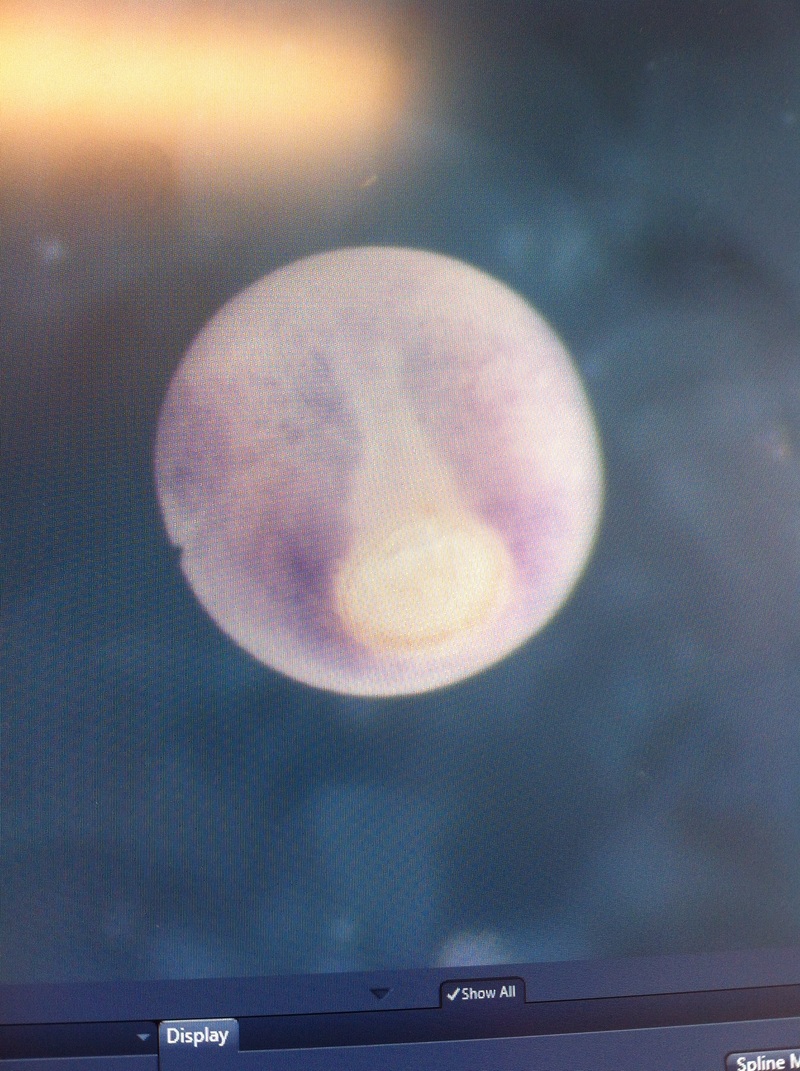
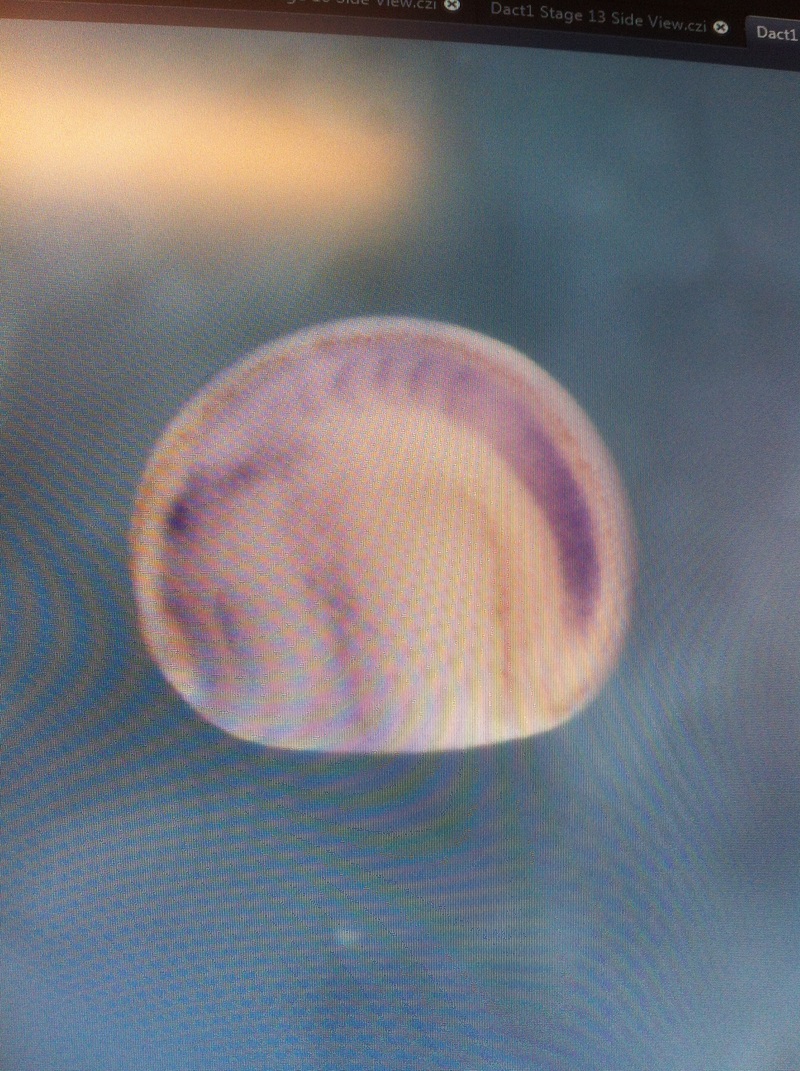
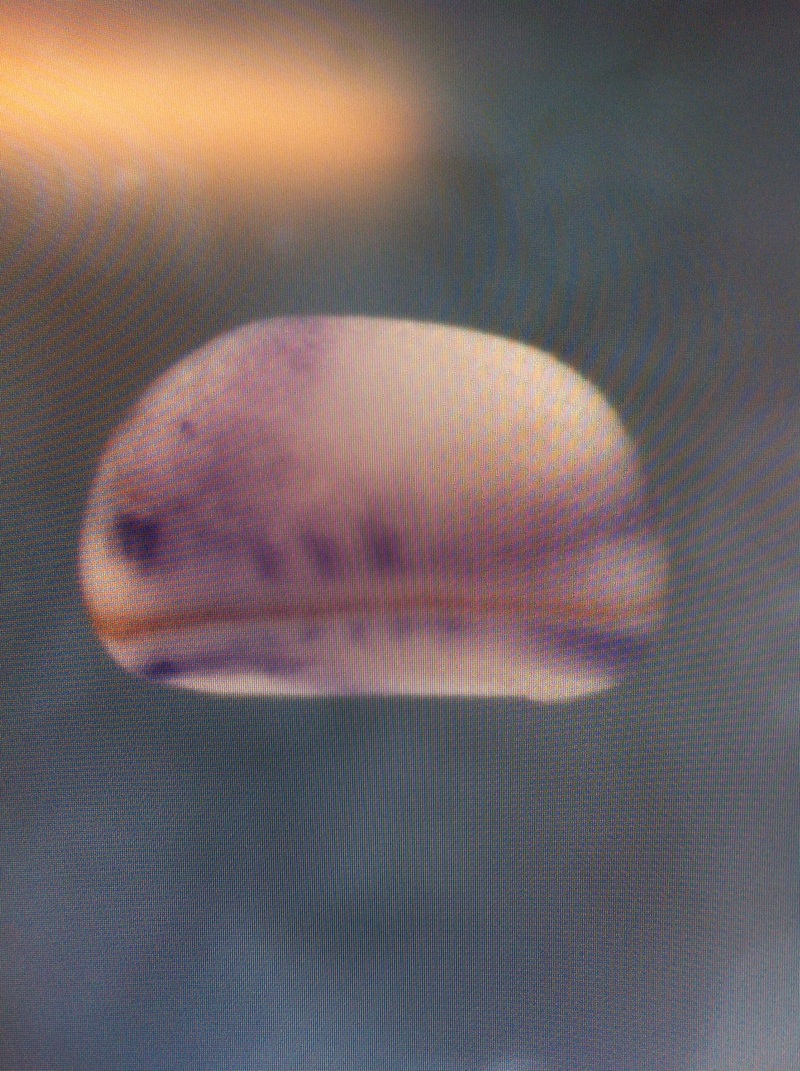
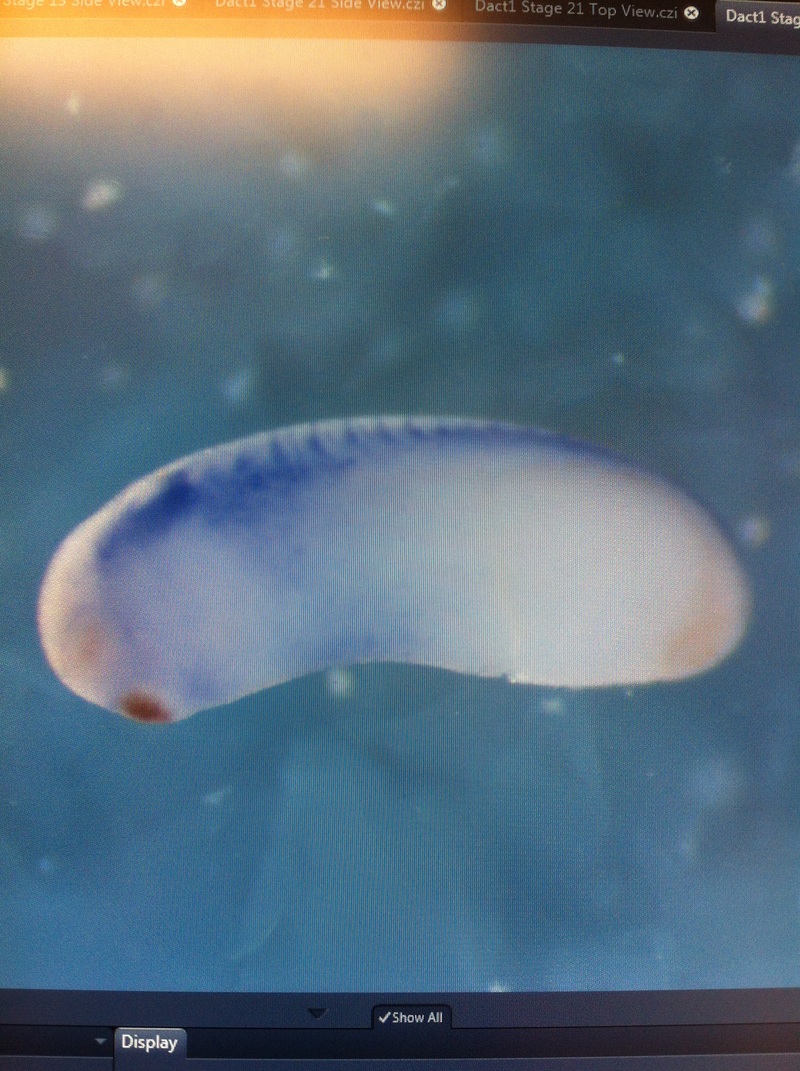
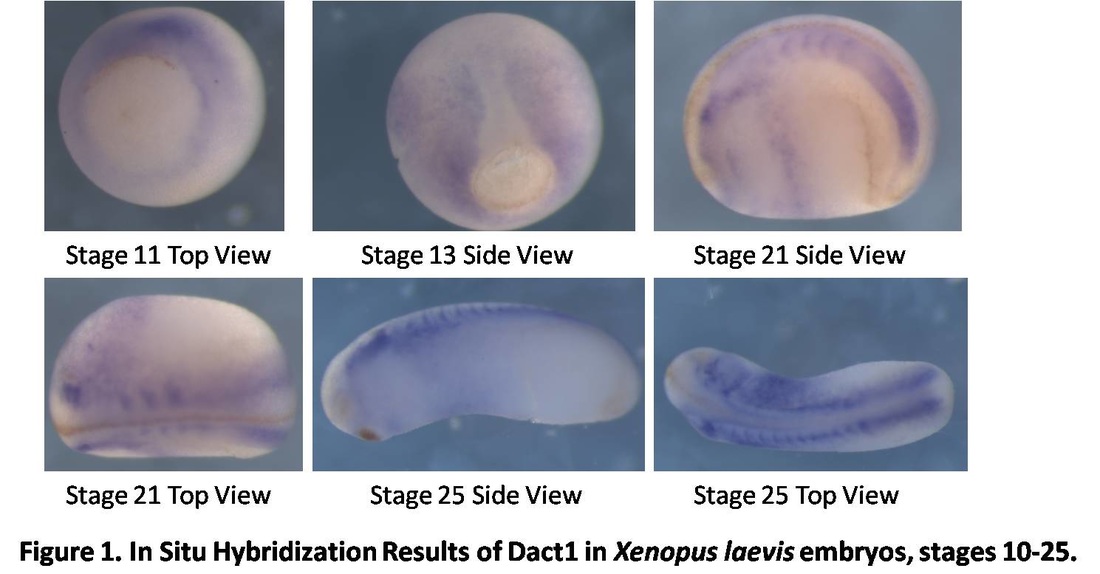
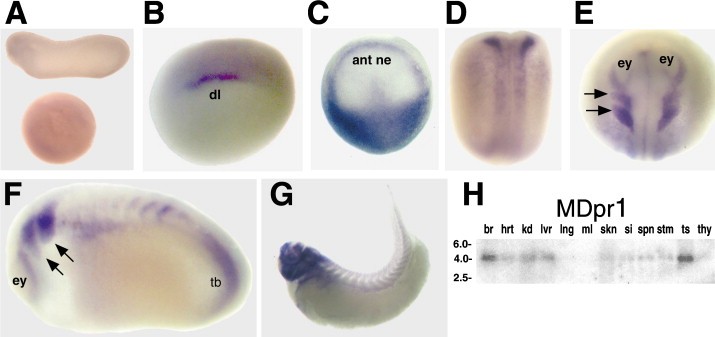
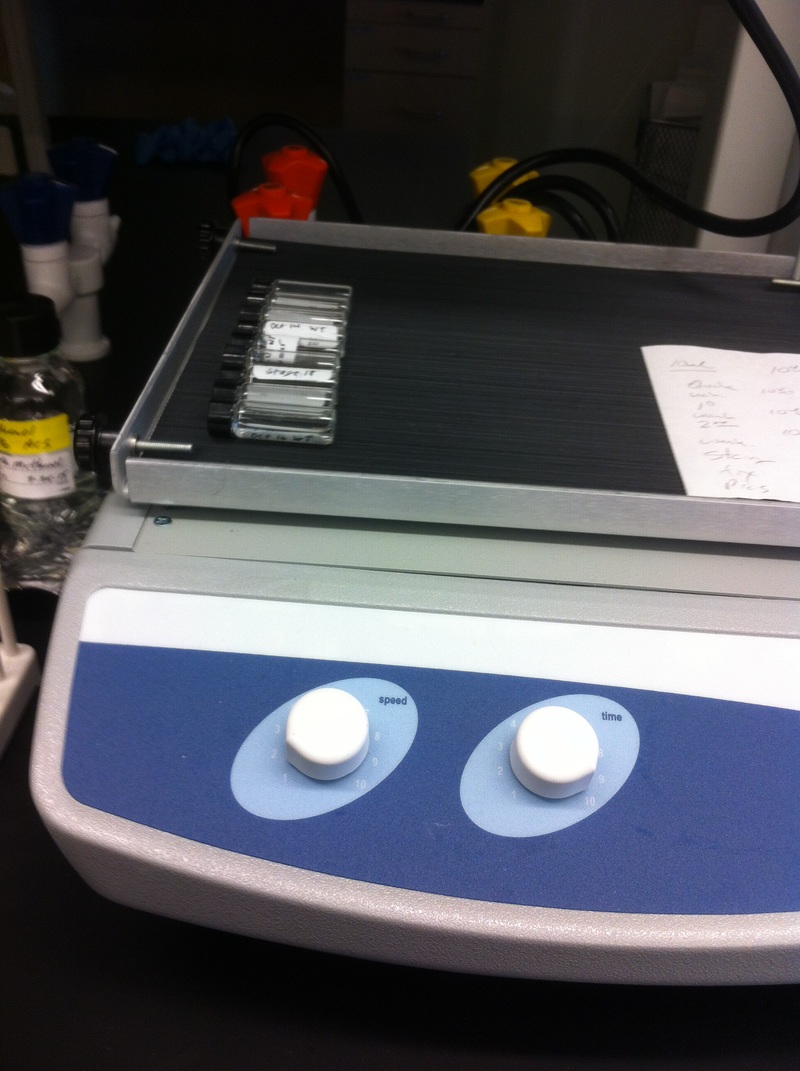
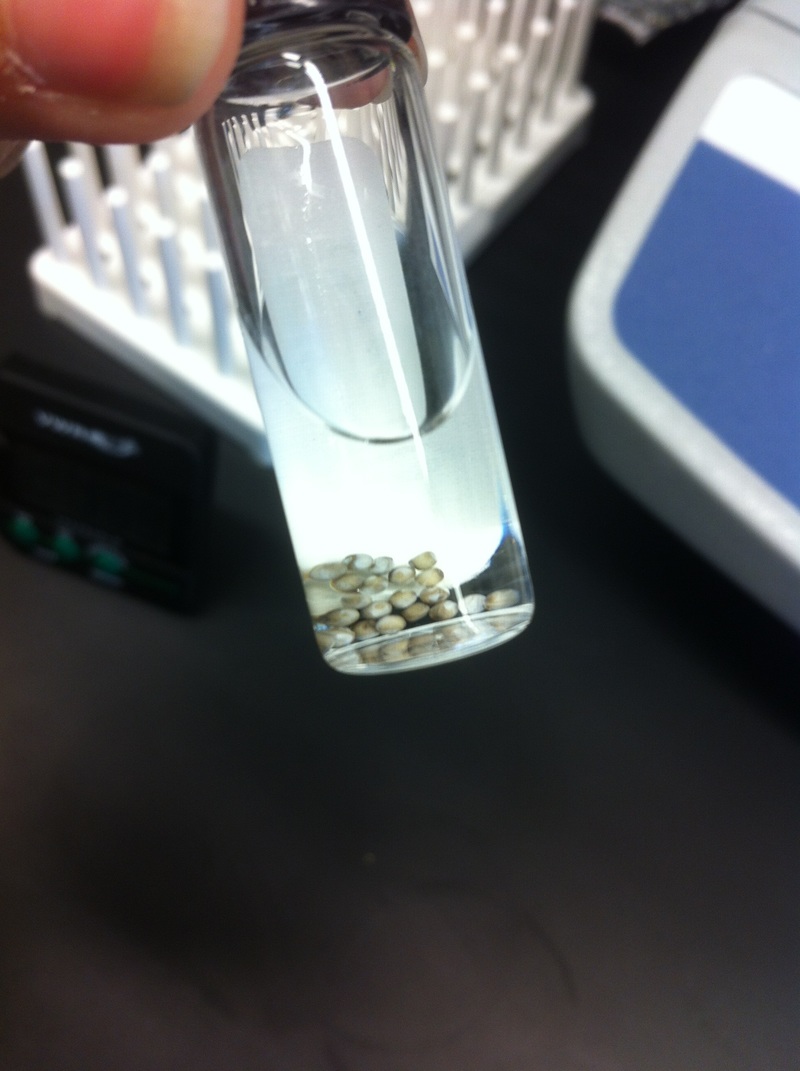
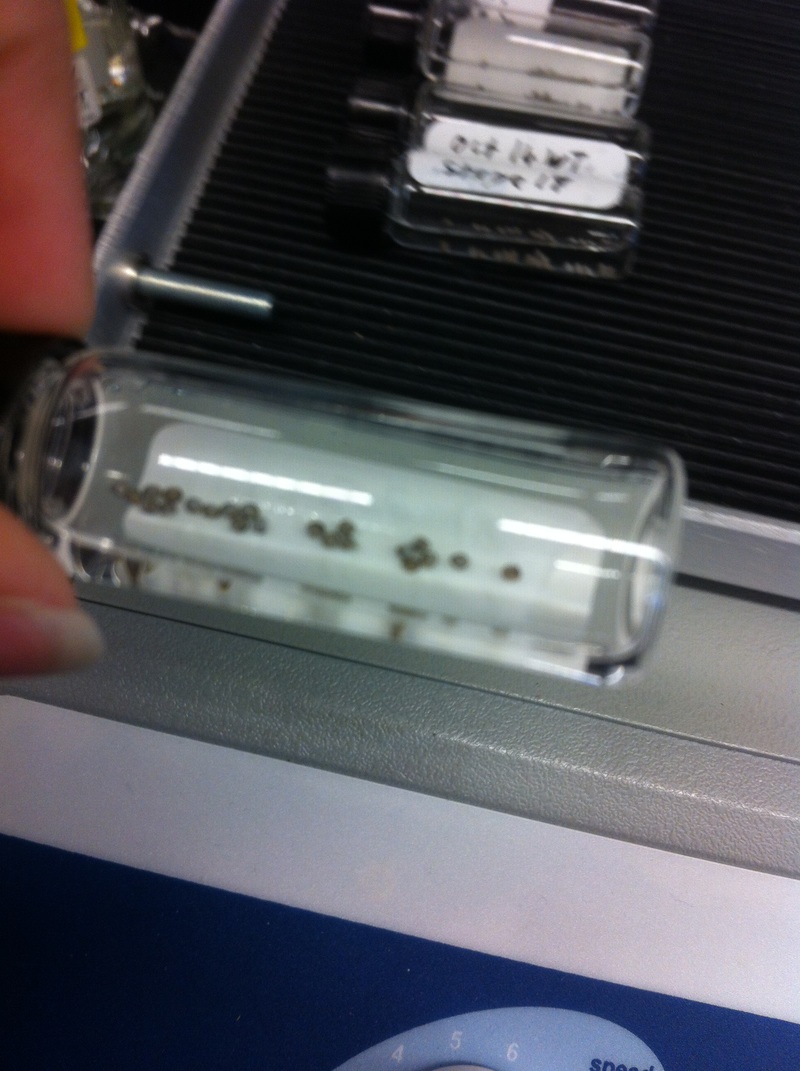
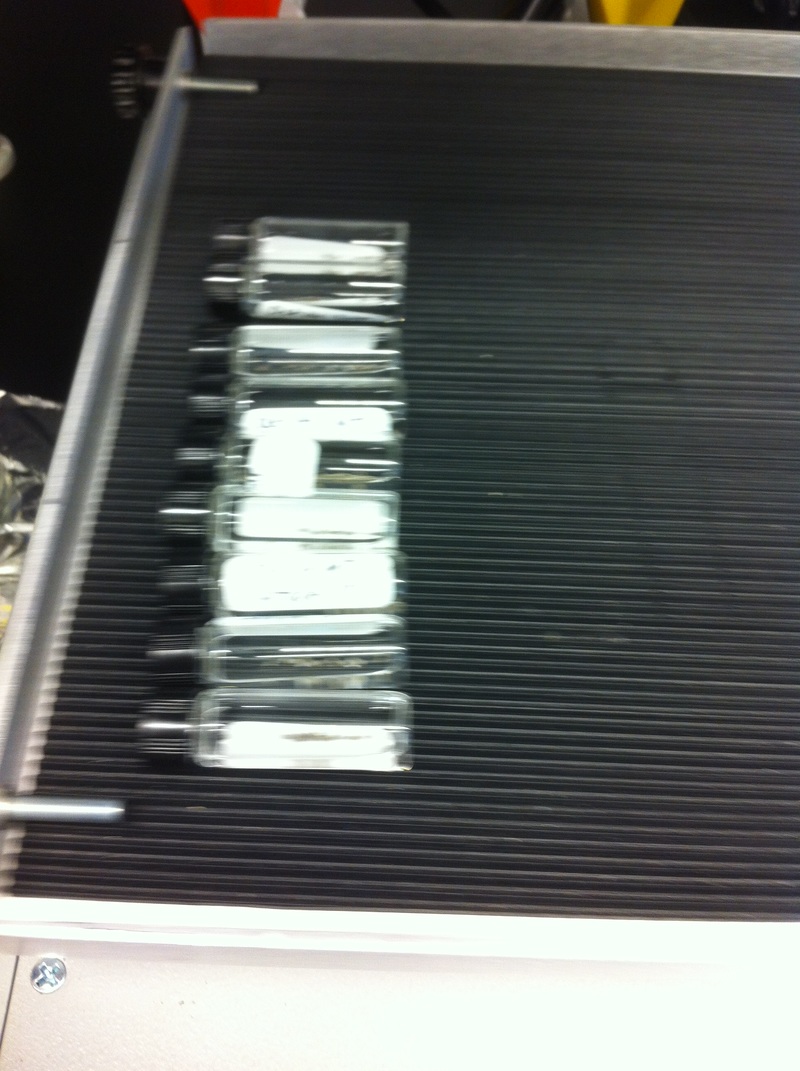
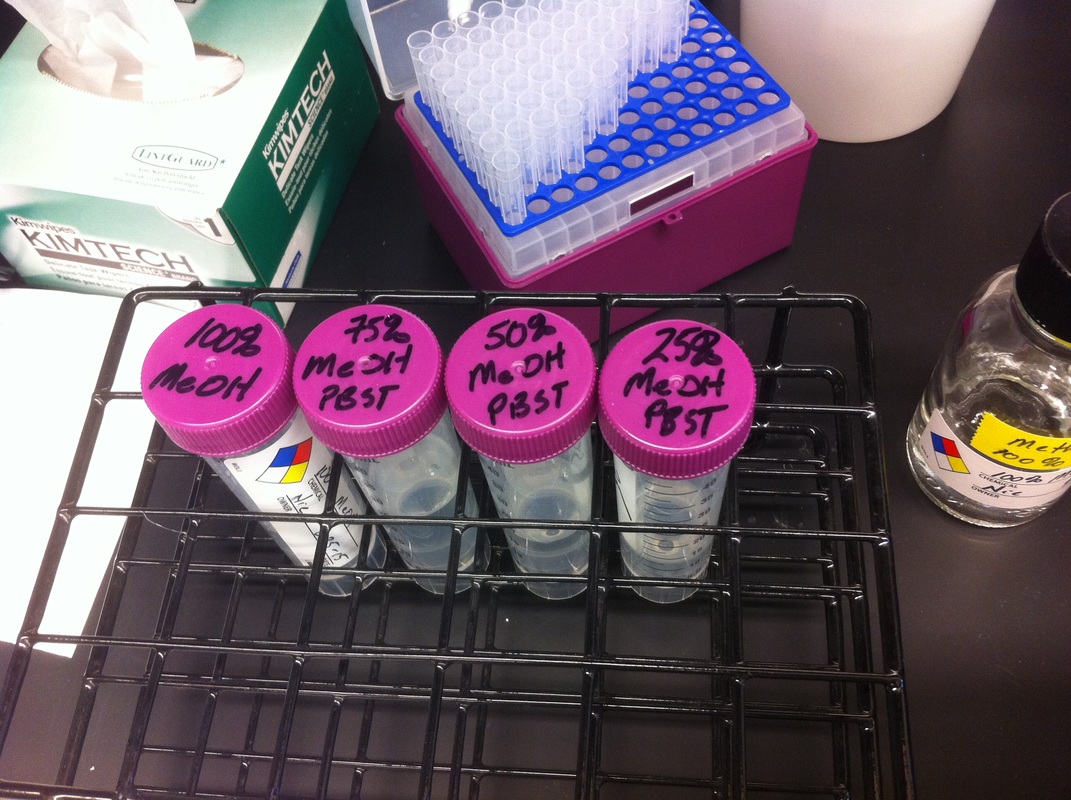
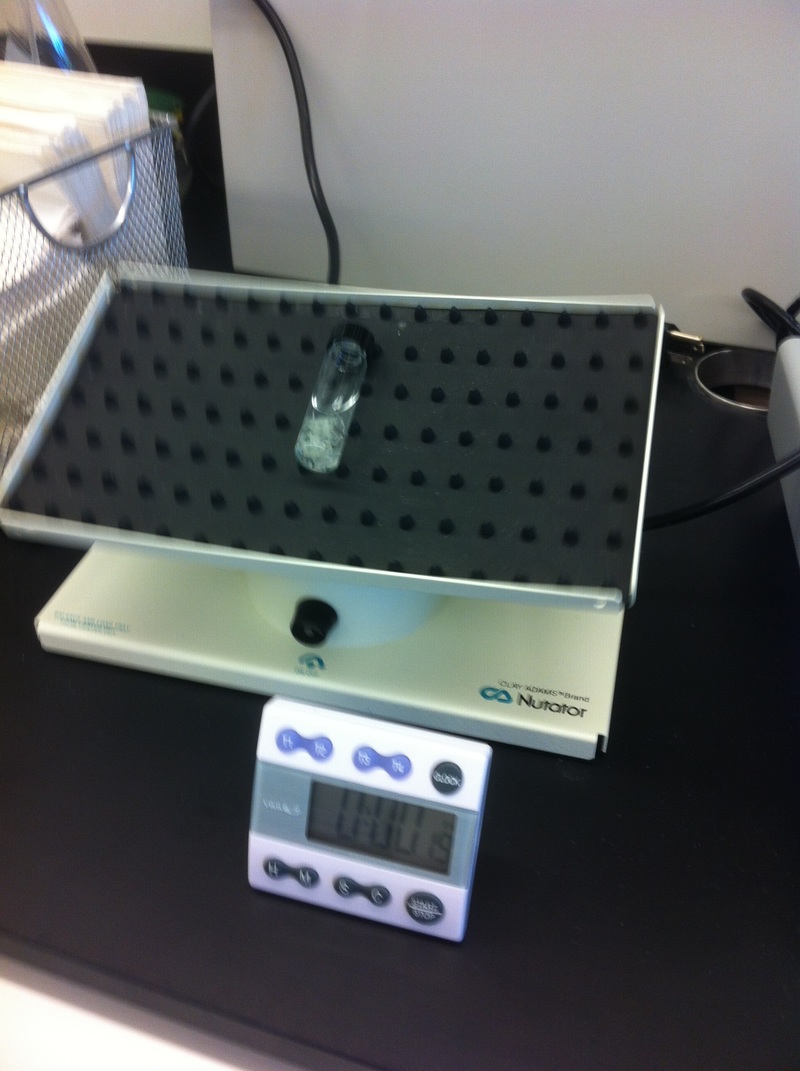
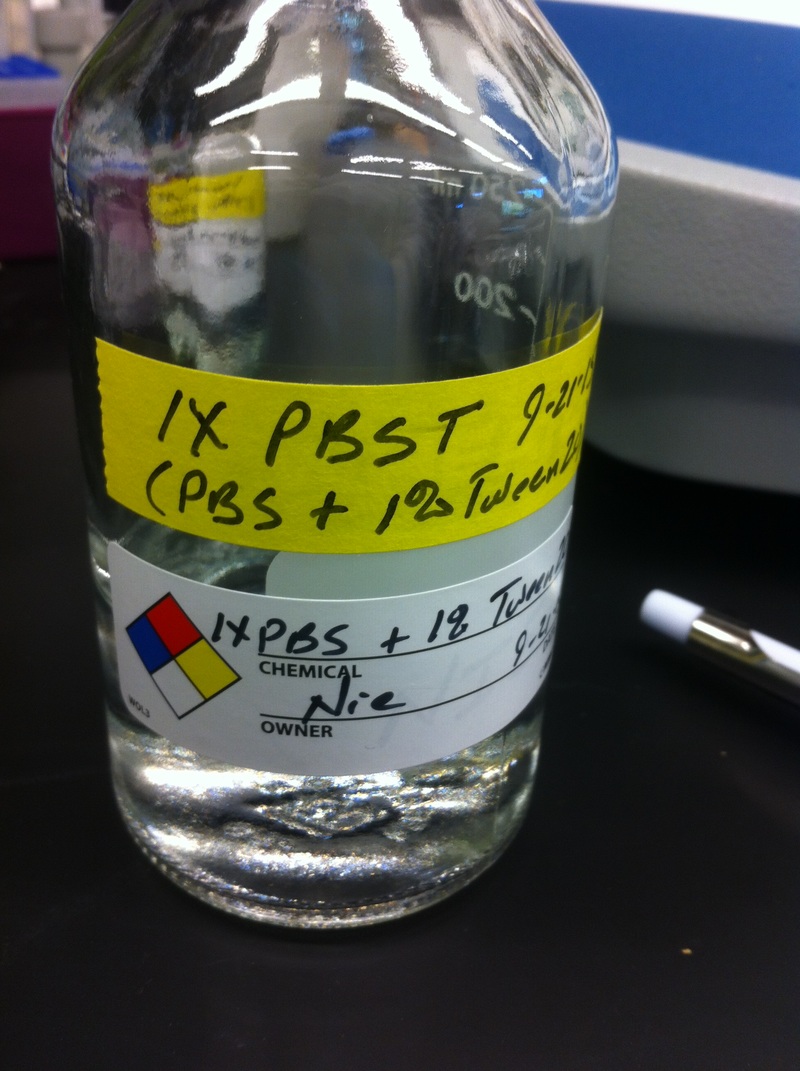
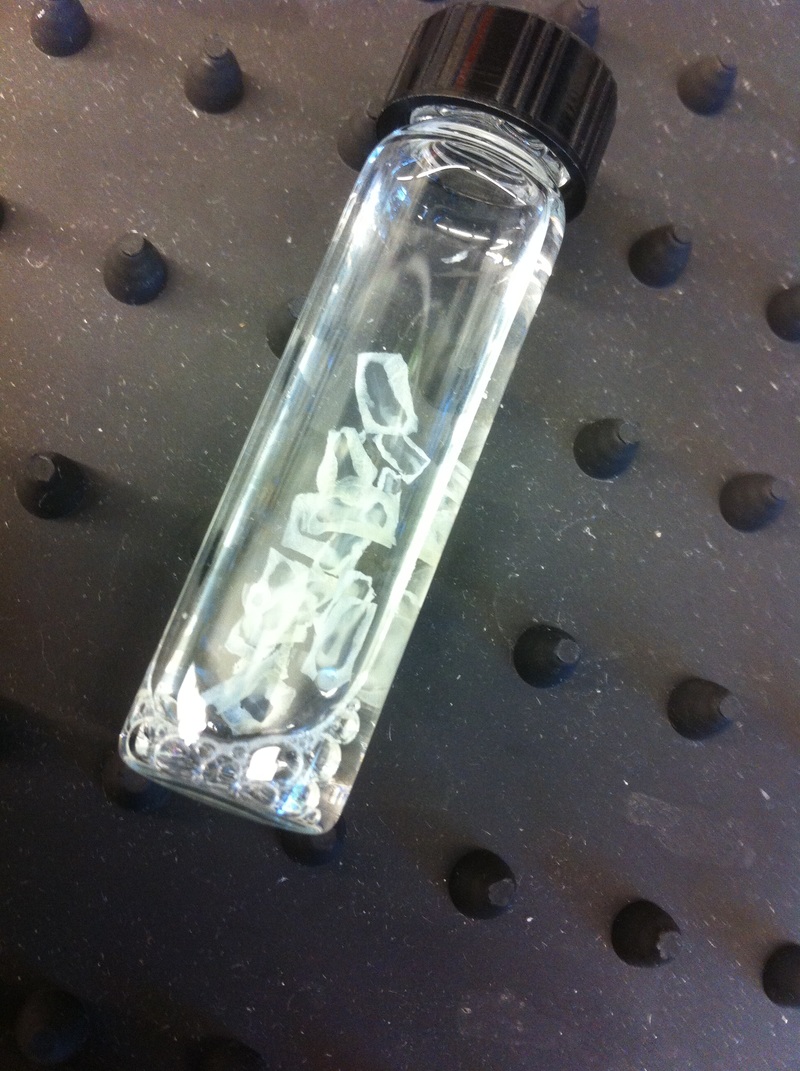
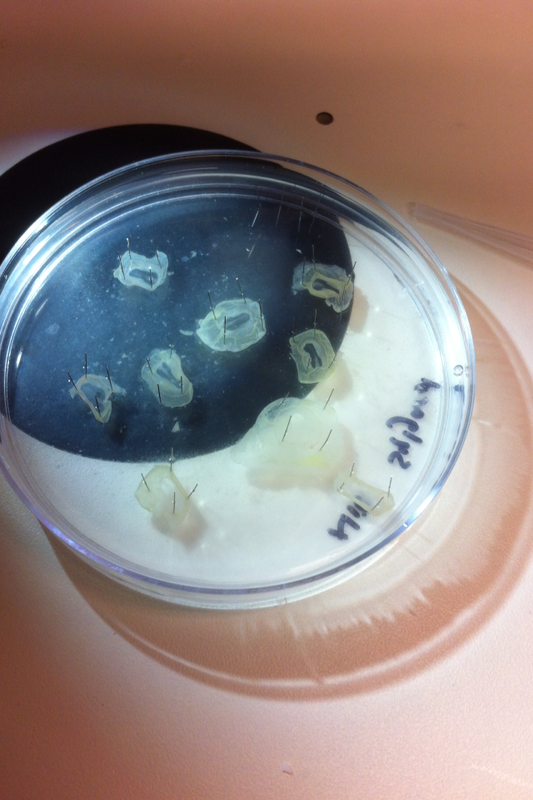
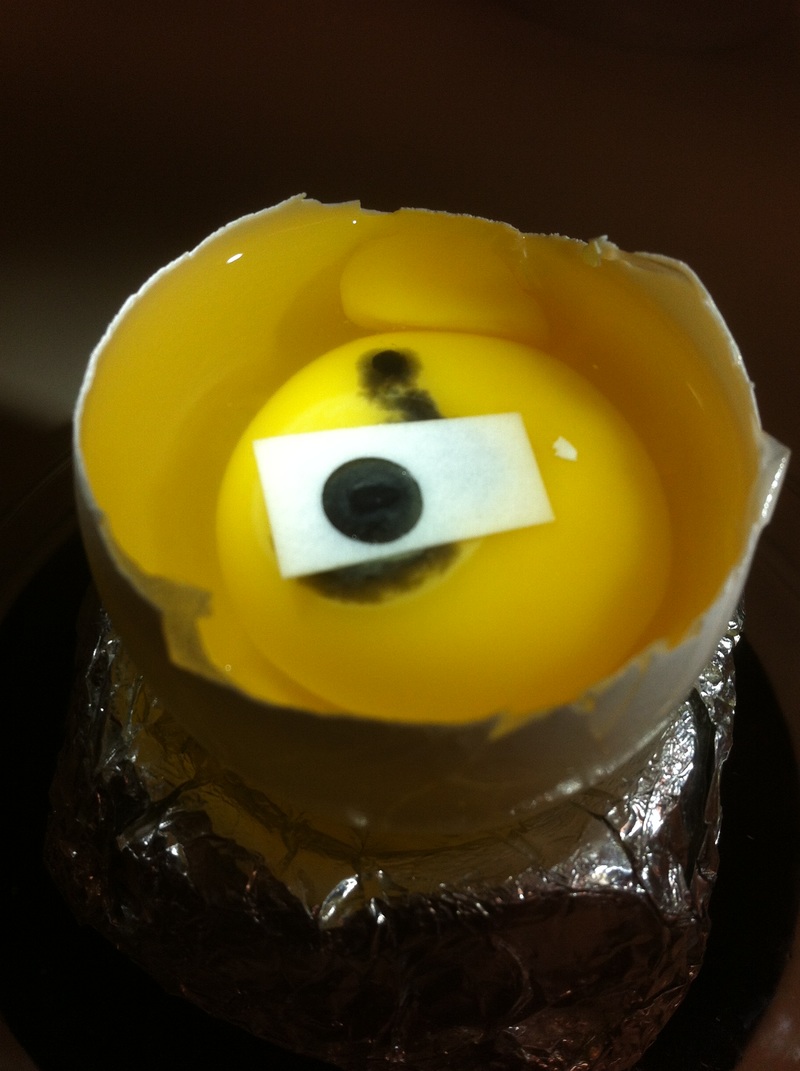
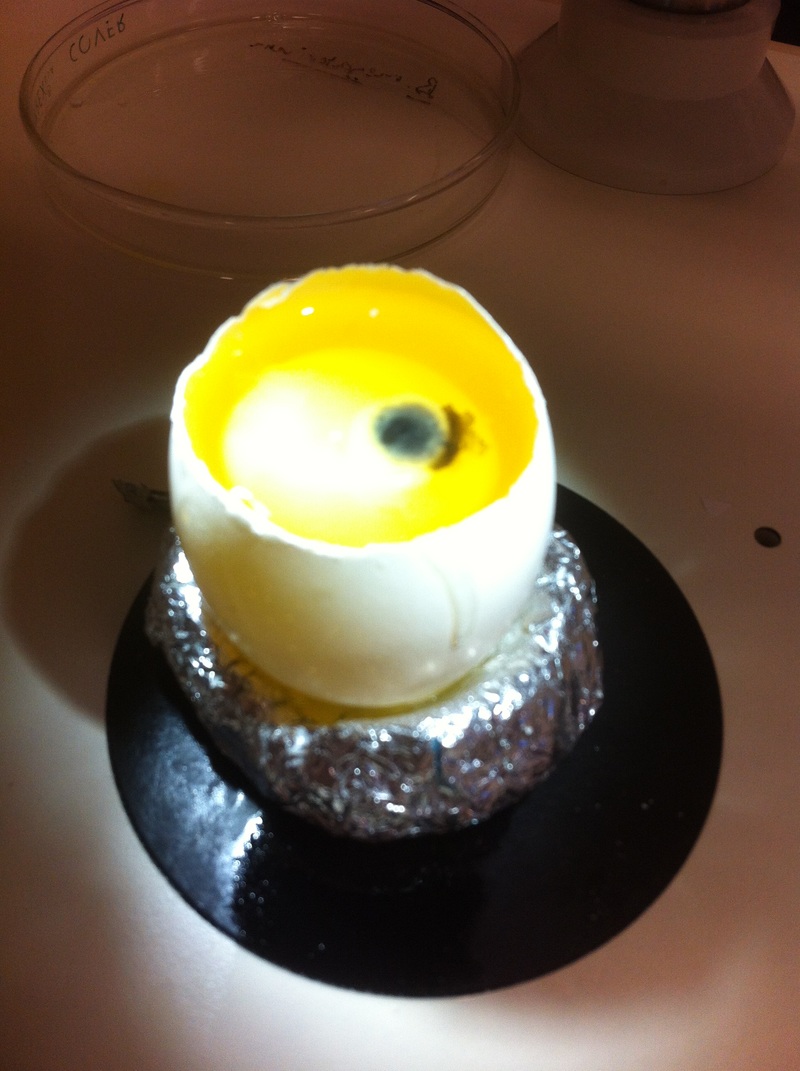
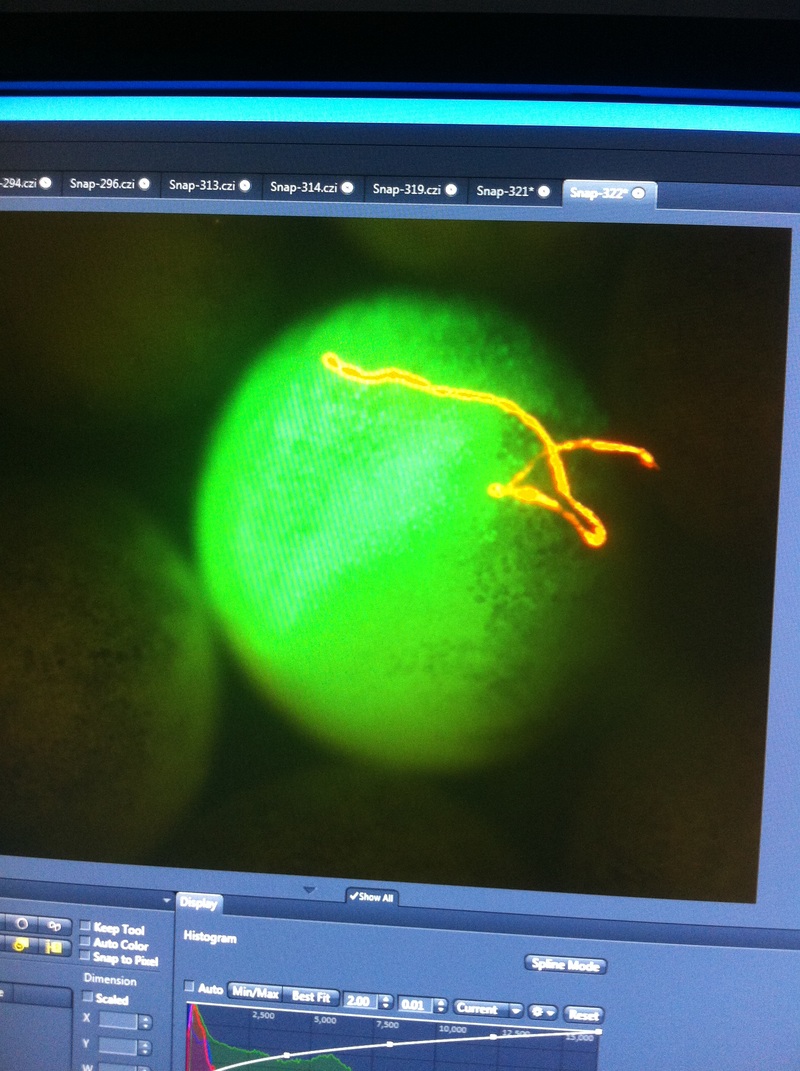
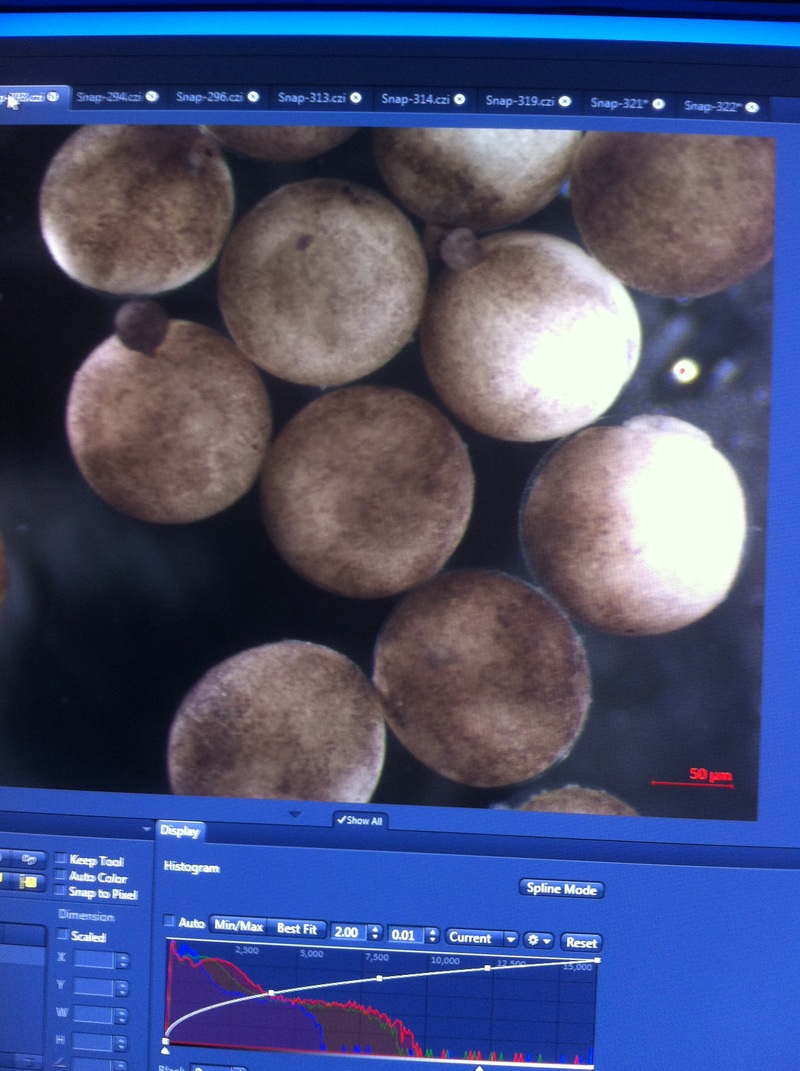
Over the course of the semester, I have been fixing frog embryos and learning the skills of injecting them, but for the very first time, Toby, Dahee, and I performed our very first whole mount in situ hybridization protocol! First we separated four different stages into 12 vials, with 4 vials each for Toby, Dahee, and I. We placed approximately 30 embryos in each vial, through stages 11, 13, 21, and 25. Then, we begin Day 1 of the In Situ. We begin with the rehydration steps: First with a 100% Methanol wash, 75% Methanol & 25% Water wash, 50% Methanol & 50% Water wash, 25% Methanol & 75% PTw, and finally, a 100% PTw wash, each for 5 minutes. Then we wash all the vials again with three PTw washes for 5 minutes each. Afterwards, we carry out the Proteinase K treatment for approximately 5 minutes. Then, we rinse the vials with two 0.1M triethanolamine washes for 5 minutes each. We conduct three acetic anhydride additions, each for 5 minutes. Then we wash twice with PTw for 5 minutes each. The vials are then refixed for 20 minutes in 4% paraformaldehyde in PTw. Afterwards, we wash off the excess paraformaldehyde with five PTw washes for 5 minutes each. The vials are then prehybdrizied overnight at 60 degrees Celsius. Then, we replace with 0.5 mL RNA probe solutions with our respective vials, approximately 1 microgram/milliliter per probe, which is then hybridized overnight at 60 degrees Celsius. The next day, the probe is removed and is replaced with hybridization buffer, the vials are then incubated at 60 degrees Celsius for 10 minutes. Three SSC washes are conducted at 60 degrees Celsius for five minutes each. Another 30 minute SSC wash occurs at 37 degrees Celsius, followed by two more SSC washes at 10 minutes and 30 minutes respectively, at 60 degrees Celsius. The vials are then washed twice in MAB for 10 minutes each. Another wash with MAB in 2% BMB Blocking solution occurs for one hours, followed by an MAB in 2% BMB Blocking Solution Reagent and Ab (anti-dioxygenin AP antibody) overnight at 4 degrees Celsius. The last day of the in situ started with 5 washes in MAB for 1 hour each. The embryos are then washed twice with Alkaline phosphatase buffer for 5 minutes each. The last wash is replaced with BM Purple, and the in situ has come to a conclusion! Attached below are pictures of the in situ hybridization with my Dact1 RNA Probe. The captions on the pictures indicate the type of picture and the stage of the embryos. After weeks of fixing frog embryos for an in situ hybridization, we eventually made RNA probes with our respective genes. The first step for in situ hybridization probes is to digest the DNA with appropriate restriction enzyme to linearize the template and extract with phenol one, add 1/10 volume of 10M NH4Oac and 2.5 volume of Ethanol, precipitated at -70 degrees Celsius for 15 minutes. Then, the DNA is spinned down in a cold room and washed with 70% Ethanol (RNA-ase free), then redissolved in DEPC-treated water, afterwards the concentration is measured. The linearized template is stored in the freezer at -20 degrees Celsius for future use. Then, we use a T7 transcription kit. The concentration of the Dact1 template is 60 nanograms per microliter, therefore, I add 4 microliters of water, 10 microliters of Dact1 template, 2 microliters of the Dig, 2 microliters of the 10X buffer, and 2 microliters of the enzyme, adding to a total of 20 microliters. This is then incubated at 37 degrees Celsius for 2 hours. Afterwards, 1 microliter of RNAse free DNAse 1 is added, then incubated at 37 degrees Celsius for 15 minutes. Then, we take 1 microliter out of the reaction and mix it with 3 microliters of RNA-gel loading dye, heated at 65 degrees Celsius for 10 minutes. This is then loaded on agarose gel. We add 15 microliters of NH4Oac stop solution and 115 microliters of DEPC-treated water to the rest of the RNA reaction. Then 150 microliters of of isopropanol is added, and precipitated at -20 degrees Celsius for 30 minutes. The RNA is spinned down and washed with RNAse free 70% Ethanol, redissolved in 20 microliters of DEPC-treated water. We take 1 microliters of the reaction to measure the concentration by the spectrophotometer. The RNA is diluted into 10 microgram per milliliter by hybridization buffer and stored at -20 degrees Celsius.
The first step in running a restriction digest on a plasmid is to select the restriction enzymes to digest the plasmid. To determine which restriction enzymes will cut the DNA sequence, I used SnapGene software. The second step is to determine an appropriate reaction buffer by reading the instructions for the enzyme. Because I conducted a double digest, I had to select a buffer that worked best for both enzymes by looking at the NEB Compatibility Chart, which led me to choose the CutSmart buffer, because both the ECOR1 and XBA1 enzymes could be digested at 65 degrees Celsius by the CutSmart buffer. The digestion reaction consists of the DNA, restriction enzymes, dye, nuclease free water, and the CutSmart buffer. This reaction is gently mixed by pipetting. Afterwards, the tubes were incubated at 37 degrees Celsius for 1 hour. Then, to visualize the results of the restriction digest, conduct gel electrophoresis. The results of the gel electrophoresis will be discussed on Tuesday when I return to lab. Until then, I will keep researching on Dact1 and its relevance to neural crest formation.
After watching Eric and Mariana sacrifice a male frog for his testis and use them to fertilize the eggs laid by the female frogs, Toby, Dahee, and I started to fix frog embryos for In Situ Hybridization by ourselves. The first step is to fix the embryos at different stages in glass vials with MEMFA solution at room temperature at 4 degrees Celsius overnight. Afterwards, change the embryos to fresh MEMFA after the first 30 min, using an end-over-end rotator. MEMFA Recipe is as follows: 1/10 10x MEM, 1/10 Formaldehyde, 8/10 Deionized water. The second step is to change the embryos into PBST three times, for five minutes each, using the rotator. The third step is a Proteinase K treatment for embryos with vitelline membrane, with 10 micro grams per milliliter in PTW (1:2000 dilution) for 5 minutes. The fourth step is to wash the embryos in PBST twice, for 5 minutes each, using the rotator. The second, third, and fourth steps can be skipped if the vitelline membrane has been removed, which usually occurs in embryos at stage 22 or beyond. The fifth step is to change the embryos into 100% ethanol, then leaving them on the end-over-end rotator for 20 minutes. Then changing them into fresh ethanol and leaving them on the end-over-end rotator for 30 minutes. The sixth step is to replace the ethanol with 100% methanol by washing the embryos twice, for 30 minutes each, on the rotator. Afterwards, the embryos need to be stored in methanol in the -20 degrees Celsius freezer. The frog embryos that we fixed were at Stages 9, 18, and 22. Overall, this protocol is extremely straightforward, but it requires time and patience, due to the large wait in between the washes.
After several weeks of cracking open dozens and dozens of eggs, finally, the day has come. On Friday, October 2nd, we were able to successfully extract 11 chick embryos into a petri dish full of ringer solution. Afterwards, we separated the embryos from the paper slides by gently dropping ringer solution around the slide while using forceps. We then proceeded to fix these embryos by crucifying them: pinning each embryo on the corners with insect pins on a silkgard plate full of ringer solution. Pinning the embryos took quite some time, especially because the embryos tended to fold into themselves often. We would use the ringer solution and pipette around the embryos to spread them out fully. We used forceps to place pins on each corner of the embryo. After successfully pinning all of the embryos in the silkgard plate, we removed the ringer solution and replaced it with 4% paraformaldehyde in order to fix the embryos. On Tuesday, October 6th, we replaced the paraformaldehyde with PTW. We did this because antigens are often sensitive to over-fixing and all PFA must be washed out. On Wednesday, October 7th, Toby & I performed three PBS with 0.1% Tween-20 washes with five minute intervals. Afterwards, we performed a series of Methanol washes to dehydrate the embryos to help penetration. We washed them once with 25% MeOH, once with 50% MeOH, once with 75% MeOH, and three times with 100% MeOH. We then left the vial of chick embryos in 100% MeOH overnight at -20 degrees Celsius. During the five minute intervals between each wash, we autoclaved glassware by placing aluminum foil and autoclave tape on the tops of the glassware and placing them in the autoclave machine under the instrumentation program. On Thursday, October 8th, we rehydrate the chick embryos through the same methanol and PBS with 0.1% Tween-20 washes.
Chick Embryo Extraction- Removing Egg White, Cutting Yolk, and Transferring Embryos to Petri Dishes10/3/2015 After a few weeks of working with Xenopus laevis embryos, we learned how to extract chick embryos. Mariana and Eric demonstrated this intriguing process multiple times before we began to do it ourselves. The first time I did this process, I failed quite miserably. First, we clean all of the eggs with 70% ethanol. Then, I take an egg from the carton and place it in an egg-holder (made of playdoh and aluminium foil-- quite creative!) on its pointy head, making sure to open the egg from the side which contains the air cell. I use curved scissors to tap on the top of the egg and start cutting around to finally expose the inside of the egg. I then use forceps to remove the inner membrane and begin to detect the egg for a white, cloudy region which surrounds the embryo. Most times, the embryo is usually at the top, but other times, I have to transfer the egg contents to a petri dish to detect if the embryo was on the other side of the egg. After I have identified the cloudy region, I remove 2-3 milliliters of egg white with a syringe, ensuring that I don't accidentally suck up any yolk with it. I have found that removing the egg white prevents the yolk from constantly moving around, and it allows me to cut the egg even further, while reducing the mess. After removing the egg white, I inject ink dye with a curved needle a few centimeters below the embryo in order to properly identify the embryo. I view the embryo under the microscope in order to identify which stage the embryos are at; most of the times, we identified stage 6 or 7 embryos, depending on the presence of somites. After identifying the embryo, I use a kim wipe to gently dab away the stickiness from the egg white in order to promote the later steps. Afterwards, I use forceps to place a single hole-punched paper slide around the embryo. I use a pipette to place a few drops of ringer solution onto the paper slide to make it stick to the embryo more effectively. I use straight scissors to cut around the embryos: first I start at the corners, then at the long edges, and finally the short edges. I have found that the yolk cutting process can be quite stressful, especially since the yolk tends to burst and the contents of the egg quickly collapse, causing the ink dye to spread everywhere and the embryo to potentially get lost. In order to successfully transfer the embryo, this process must be executed very quickly, ensuring that the embryo is not ripped during transfer. After the yolk surrounding the embryo has been properly cut, I use forceps to remove the paper slide containing the embryo in a manner of "opening a book", and then I place the embryo in the petri dish with Ringer solution. Voila, I have just extracted a chick embryo! Although this procedure seemed extremely intimidating at first, I eventually became better at it with practice. In my personal experience, I have found that extracting the embryo directly from the egg is less risky for multiple reasons. When transferring the egg's contents to a petri dish, the yolk tends to collapse, or the embryo seems hard to find. Therefore, I like to extract the embryos directly from the egg because it is more efficient. Overall, I found chick embryo extraction to be extremely fascinating and rewarding.
-Prachi Mishra Being a part of Nie Lab has definitely been an awarding experience. After spending a month in the lab, I have learned about multiple protocols and various techniques on how to successfully carry out each task. The first major protocol that I learned was RNA injection in Xenopus laevis embryos. As an undergraduate researcher, I was astounded that I would be able to inject frog embryos. Previous laboratories never allowed me to be involved in something so delicate and precise. Before I started injecting RNA into the embryos, Mariana did a few demonstrations to make sure that I understood the details and the larger purpose of this procedure: to see if certain genes are expressed during the embryos' early developmental stages. The entire process takes a lot of preparation beforehand. Mariana had to prime the frogs with hormones the night before to ensure that there would be eggs in the morning, which were later fertilized with male testis, and finally stored in a petri dish with 3% Ficoll solution after they had been placed in 3% Cysteine solution to dejelly. Before I began the procedure for the first time, I extracted approximately twenty needles from the Model P-97 Micropipette Puller. I chose program #2 which was designated for frog needles. Needle extraction took about ten to fifteen minutes in duration. Afterwards, I firmly slid the needle in place of where the metal rod had been, cut the very tip of the needle with forceps, and began to calibrate the machine with water. After the calibration, I collected the RNA with my needle and began to inject the frog embryos slowly and delicately. It was extremely difficult to match what I was doing with my needles while I was squinting into the microscope. My hand-eye coordination was not too skillful, and several of the embryos burst and made the slides cloudy. Many times, my needle would break and I'd have to immediately replace it with a new needle. Although frustrating at first, I became better at injecting after multiple days in the lab with lots of practice. Afterwards, we took pictures of the Xenopus laevis embryos under UV light to detect if the RNA had successfully been injected. My success rate was not too high, but one fluorescent embryo sparked hope and determination for the next time I would inject embryos. Attached are some pictures from my experience with RNA injection. -Prachi Mishra |
Prachi MishraOh hi there! ArchivesCategories |